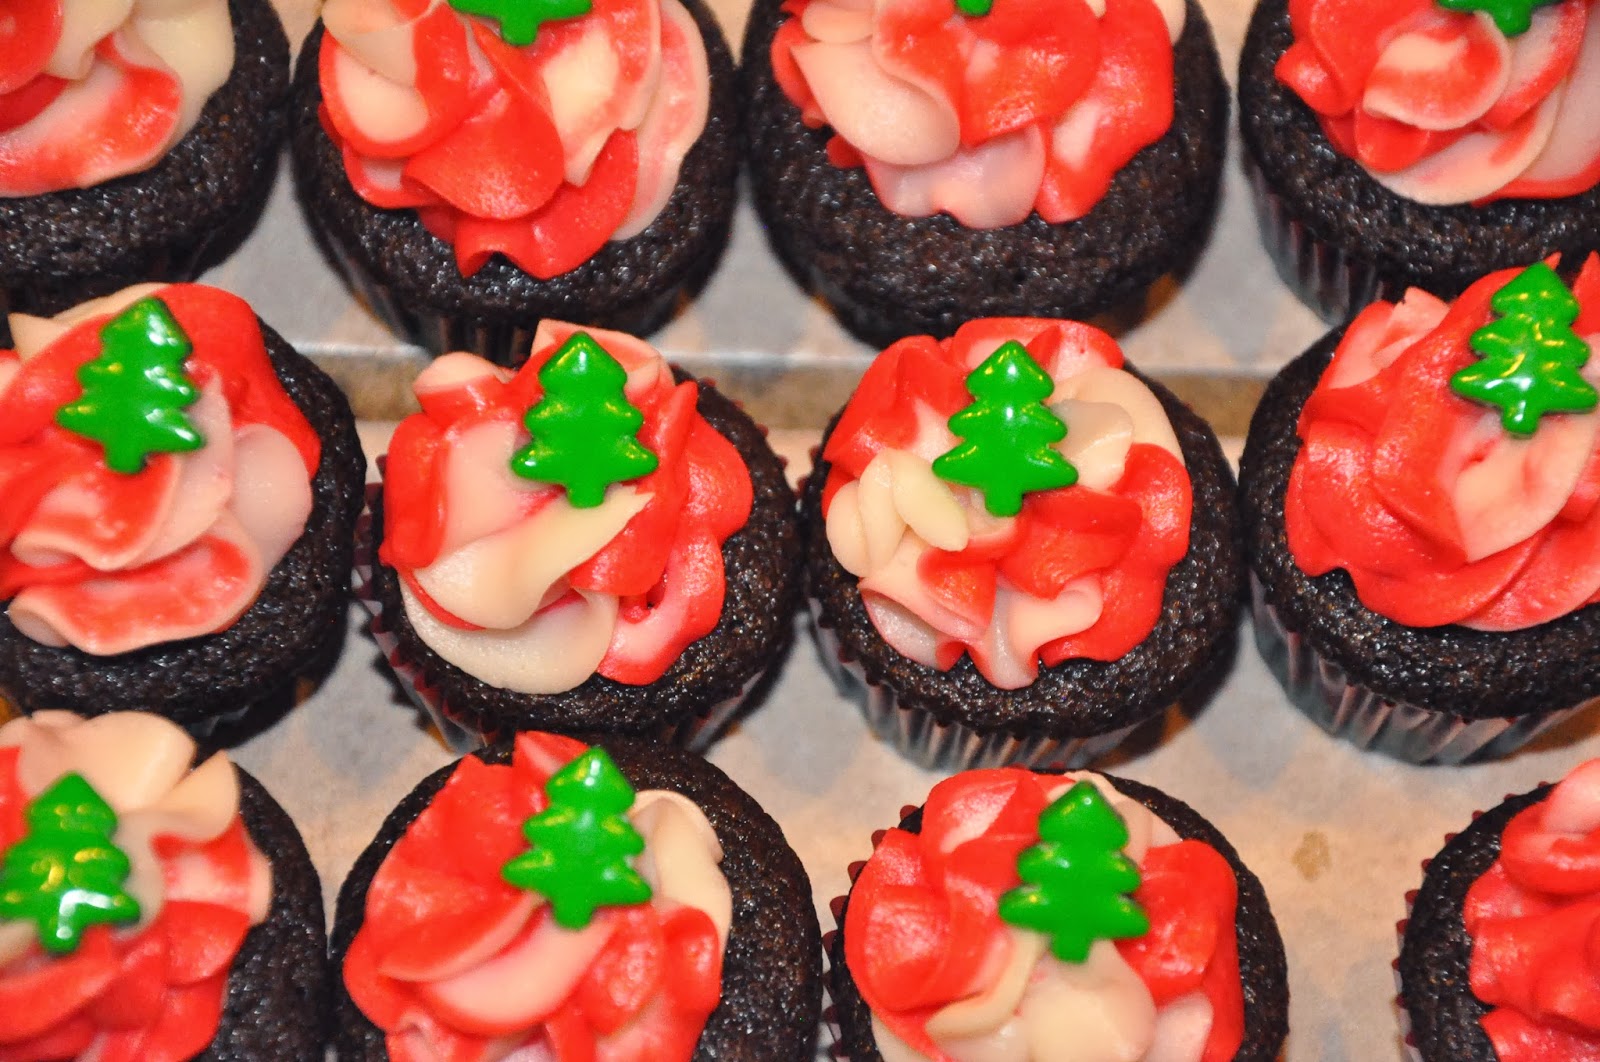
Most people go with cookies, seasonal breads, or chocolates. But I like cake, y'all. Now cookies, candies, and breads, don't go getting all offended now, I love you too, but this year cake (cupcakes to be exact) won out as the gift of choice. I made these for my colleagues and some friends, and they seemed to be a pretty solid success. I used a couple tried and true cake recipes for the cupcakes, and tweaked the buttercream to make these fit for consumption between Thanksgiving and New Year's.

Above, legions of cupcakes waiting to receive their frosting. If I wouldn't be mortified to show you what my kitchen looks like at this stage of the process, you could see that every surface that wasn't covered with sugar, frosting, piping tips, flour, and other such paraphernalia was covered with more cupcakes. Seriously. I made like 800 of these things. Well, maybe more like 160. But still. Lots.
Whip some up this holiday season (or whenever really, it's not like peppermint is exclusive to Christmas, despite what Starbucks would have you believe), and enjoy time with family and friends.

********************
Chocolate Mini Cupcakes
with Peppermint Swirl Buttercream
You can see my instructions here; it's the same chocolate cake I use to make cake pops.
Ingredients
2 cups flour
2 cups sugar
1/4 teaspoon salt
4 heaping tablespoons cocoa
2 sticks butter
1 cup boiling water
1/2 cup buttermilk
2 whole beaten eggs
1 teaspoon baking soda
1 teaspoon vanilla
Directions
Preheat oven to 350°
In a mixing bowl, combine the flour, sugar, and salt.In a saucepan, melt the butter. When butter is completely melted, add the cocoa.When butter and cocoa is well mixed, add the boiling water. Stir well. Allow this mixture to boil for 30 seconds, and then pull off the heat.Pour the chocolate mixture into the flour mixture in the mixing bowl.Mix gently to let the mixture cool.In a separate measuring cup, combine the buttermilk, the beaten eggs, the vanilla, and the baking soda.Add the buttermilk mixture to the mixing bowl and mix until incorporated.
Spoon into mini baking cups (a little over half full) in a mini muffin pan.
Bake 8-10 minutes or until toothpick comes out clean. Be careful, these are very easy to overbake as they are so tiny!
Peppermint Buttercream frosting
Ingredients
2 sticks (1/2 lb) unsalted butter4-6 cups confectioner's sugar (more sugar means a stiffer frosting)
1/4 teaspoon salt
2-3 tablespoons heavy cream
2 teaspoons vanilla extract
1-3 teaspoons peppermint extract (to taste, this can be strong for some people)
red food color
Directions
In the large bowl of a mixer, with a paddle attachment, beat the butter for about 3 minutes.Gradually add the sugar, 1 cup at a time, beating well after each addition. If you don't beat it in between, the frosting might end up grainy.
Add salt during one of the sugar additions.
Add two tablespoons of cream and vanilla, and beat well. Add cream to reach desired consistency (stiffer is better for piping).
Separate the frosting into halves in two bowls. To one bowl, add red food color until you reach the desired color (peppermint red). Add peppermint extract to red frosting 1/2 teaspoon at a time, tasting in between additions.
You could of course make all the frosting peppermint, or make the white peppermint, but I chose to make the red peppermint, and it's fun to have it swirled in with the white, which is still regular vanilla.

Snip the tips off all four bags, then slide them down into a large bag (at least 16") fitted with a piping tip (I used a Wilton 2D), ensuring that the openings of each small bag are all lined up as close as possible.


They would be cute left like this, but I found these adorable candies at Williams Sonoma this year, and the little green trees look perfect perched on top of the swirly frosting.


Holiday Spice Cupcakes with Eggnog Buttercream
Ingredients
2 1/2 cups flour
1 teaspoon baking powder
1 teaspoon baking soda
1 teaspoon salt
1 teaspoon ground cinnamon
1/2 teaspoon groung ginger
1/4 teaspoon ground nutmeg
1/4 teaspoon ground cloves
1/2 cup butter
1/2 cup brown sugar, firmly packed
1 cup granulated sugar
2 large eggs
1 teaspoon vanilla extract
1 1/4 cups buttermilk
Directions
Preheat oven to 350ºF.
Sift together the flour, baking powder, baking soda, salt, and spices.
Cream butter in the bowl of your mixer. Add sugars, eggs, and vanilla. Beat at high speed for 4-5 minutes, or until the mixture becomes light and fluffy, scraping often.
Add dry ingredients alternately with buttermilk, using lowest speed of mixer (to avoid overmixing) until just combined.
Spoon into mini cupcake papers (a little over half full) in a mini muffin tin.
Bake 8-10 minutes (or until toothpick comes out clean). Be careful not to overbake these - it's very easy to do, since they are so tiny.
Eggnog Buttercream
Ingredients
2 sticks (1/2 lb) unsalted butter4-6 cups confectioner's sugar (more sugar means a stiffer frosting)
1/4 teaspoon salt
2-3 tablespoons heavy cream
2 teaspoons vanilla extract
3-6 tablespoons eggnog (to taste)...you could make your own, but I use store bought. It's yummy and it saves a ton of time
1/2 - 1 teaspoon ground cinnamon, plus extra for garnish
In the large bowl of a mixer, with a paddle attachment, beat the butter for about 3 minutes.
Gradually add the sugar, 1 cup at a time, beating well after each addition. If you don't beat it in between, the frosting might end up grainy.
Add salt during one of the sugar additions.
Add two tablespoons of cream and vanilla, and beat well. Add cream until just stiffer than desired consistency (stiffer is better for piping).
Add eggnog a tablespoon at a time until the taste is to your liking.

Pipe the frosting on using any tip you like (or heck, spread it on with a knife, dip 'em in there like chips and salsa, or smear it on with your fingers. Just try not to eat it all before it makes it to the cupcakes. It's good). I used a Wilton 1M, and managed to mostly pipe it onto cupcakes instead of directly into my mouth.

Sprinkle cinnamon onto the finished product. This is so pretty all by itself, but I did add some snowflake sprinkles to some of them, just to be extra festive.