

Last week we had a snow day. As usual, this meant about an inch or two of snow in my neighborhood (beautiful though that is), but closer to a foot or more in the northern tundra that composes the top half of our school district. I think for once, I can honestly say that I was more excited to have this snow day than your average six-year-old. Why, you might ask? Well, I had a cake to bake, of course!
My friend Chelsea asked me a couple weeks ago if I would bake the cake for her husband's birthday party...I was flattered and delighted, and agreed immediately. I had intended to bake the cake on Friday afternoon/evening after work, and finish it up on Saturday, the morning of the party. But thank the Snow Gods for their kindly contribution on Friday, because as events unfolded, it became clear that that plan would have had me still
The plan seemed so simple (famous last words)...
Bake red velvet cake.
Stand back and admire prodigious baking skills.
Crumb coat, refrigerate, rest on couch while cake chills.
Bake adorable red velvet cupcakes to accompany and supplement cake servings.
Stand back and admire baking skills again.
Pipe out chocolate decorations.
Pipe pretty cream cheese swirls on the cupcakes, frost the cake, add chocolate decorations.
Stand back and bask in oohs, aahs, and other exclamations of friends and family.
Let me tell you what really happened.
Step one. Bake red velvet cake. Easy, right? Well, I tried a new recipe. The mixing went well, and the baking seemed like it was going well until about 20 minutes in. That is when I started getting a whiff of a slight burning smell. Burning, you say? Yes, burning. It happens. Anyway, I checked on the smell, and sure enough, the cakes had overflowed, despite the recipe calling for 9 inch pans, which is what I used. It should have fit, right? That's what I thought too. I stuck some pans underneath to catch the overflow and let the cakes finish baking. When I removed my cake from the oven, it was clear that step two was clearly not going to happen.
I assumed that the mistake was that I needed to put less batter in the pans. I thought they had simply overflowed, and that is what made them sink. So I mixed up more batter, siphoned a little off to bake separately, and put the rest into the pans. I stuck them in to bake and held my breath. I didn't open the oven, despite temptation, but waited like a Good Little Baker to see what happened. The timer went off. I took a deep breath, braced myself (suspenseful, right?), closed my eyes, and opened the oven door. No smell of smoke. Excellent. I peeked through one eye. Darn. I really had thought that I would have my gorgeous, spongy, perfectly smooth, slightly rounded red velvet cakes waiting for me there. Not so, my friends, I'm sorry to say. These ones had sunk too. Not nearly as badly, but they were still disappointing.
Sigh.
So I put these ones out to cool, slid the other ones back over from their place of exile on the other counter, and stood and stared at all four layers for an irrational length of time.
 |
| Sad, huh? Poor little sunken cakes... |
Now let me tell you something. I do. not. waste. cake. Period. Unless it is grossly inedible, it will get eaten, even if it is straight from a container in the fridge with frosting being swiped on each individual morsel. Besides that fact, I also didn't have any more red food coloring, or buttermilk, or milk for that matter. I only had two eggs left, and I plain old didn't want to bake another cake. Not in that mood.
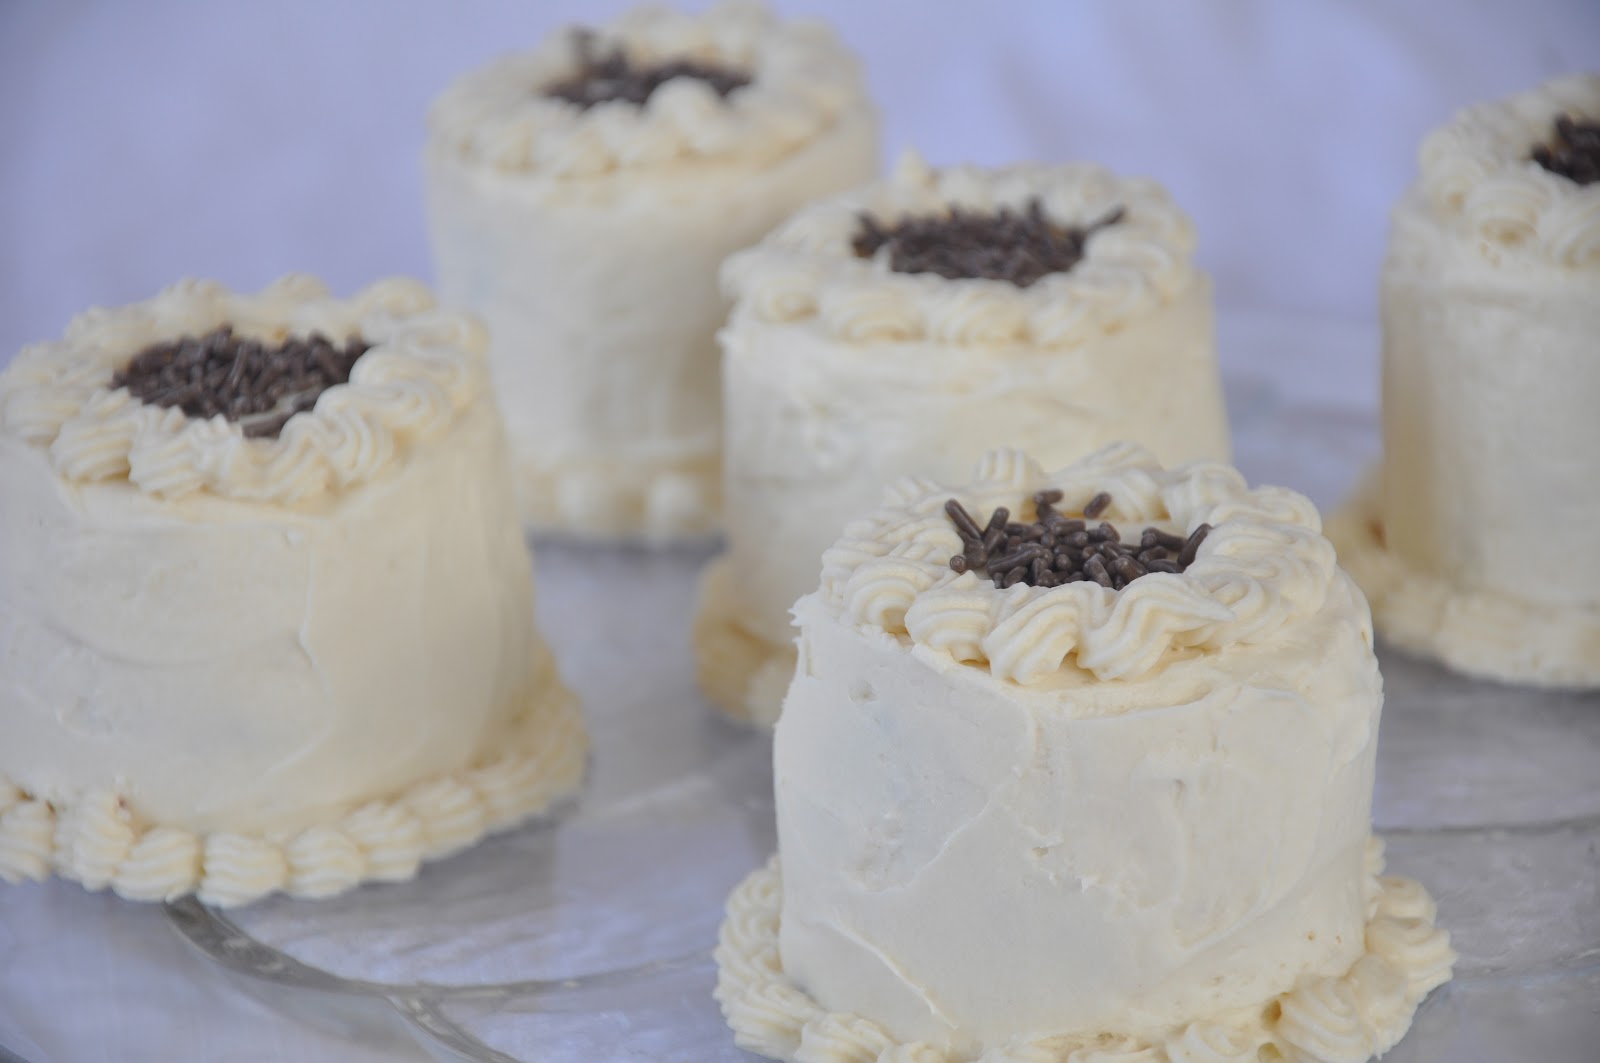
So what to do with the seriously crater-ific first attempt? Well, they were a little like brownies, and I picked off a piece to taste it. It may not be pretty, but it was yummy. So I ended up cutting out little rounds and making mini cakes. I'm sorry that I didn't take any pictures of this process, but I was too busy muttering mild profanities under my breath and trying not to eat all the cake scraps. I had recovered enough to take pictures of the final product though...
And the second attempt? I decided that they were usable, if I cheated on the frosting in between the layers. Who doesn't like extra cream cheese, anyway?
Despite the hurdles, the cake turned out delicious. A little chocolatey, and very dark red (since I used dark cocoa powder), and slathered with a dangerously generous layer of cream cheese frosting. What's not to like? And I think the piped decorations turned out wonderful, don't you? Ryan is a big mountain biker, so of course this outdoorsy-themed cake had to include a little riding Ryan, complete with helmet and all.
Cake disaster successfully turned around. Well done me, I think. My wonderfully supportive family and friends did indeed allow me to enjoy the last step of the original plan. Thanks guys. My love to you all, and Happy Birthday Ryan!
Despite my almost-failures, I am going to include the recipes for those less elevationally-challenged.

Red Velvet Cake
Source: Food Network
Ingredients
12 tablespoons (1 1/2 sticks) butter
3 cups cake flour, sifted
3 tablespoons unsweetened Dutch-process cocoa powder (I used dark, which makes the cake a darker color and gives it a slightly stronger chocolate taste)
1 teaspoon baking soda
1/2 teaspoon salt
1 3/4 cups granulated sugar
1/3 cup vegetable oil
3 large eggs, at room temperature
1 tablespoon red food coloring
2 teaspoons apple cider vinegar
1 teaspoon vanilla extract
1 cup buttermilk
Cream Cheese Frosting
Directions
Preheat the oven to 350°F
Butter two 9-inch pans (or spray with baking spray).
Whisk the flour, baking soda, and cocoa powder, and salt together in a bowl.


Beat the sugar, butter, and oil in your mixer (with a paddle attachment) on med-high speed until light and fluffy. This can take up to 4 minutes or so.


Beat in the eggs one at a time, incorporating in between.

Beat in the food coloring, vanilla, and vinegar.


Reduce mixer speed to low; add flour mixture in 3 batches, alternating with the buttermilk. Start and end with flour. Don't overmix here, you want to stir until the flour is just incorporated.

Divide the batter between the pans.


Bake 35-40 minutes, or until a toothpick comes out clean. Let cool on racks.
Make the frosting.
Crumb coat, refrigerate, then frost again. Of course, a crumb coat is optional, but especially with a dark-colored cake like this one, it makes for a neater finish. I also line underneath the edge of the cake with strips of parchment paper so that I can decorate straight onto the cake stand.

While the cake was chilling, I piped out the chocolate decorations. I wanted some of these to sit flush against the sides of the cake, so, using the pans as a guide, I made a little curved cardboard...thing to pipe them onto. I covered this with parchment paper, and voilà! I had the perfect little curved-chocolate-decoration-maker-thing.
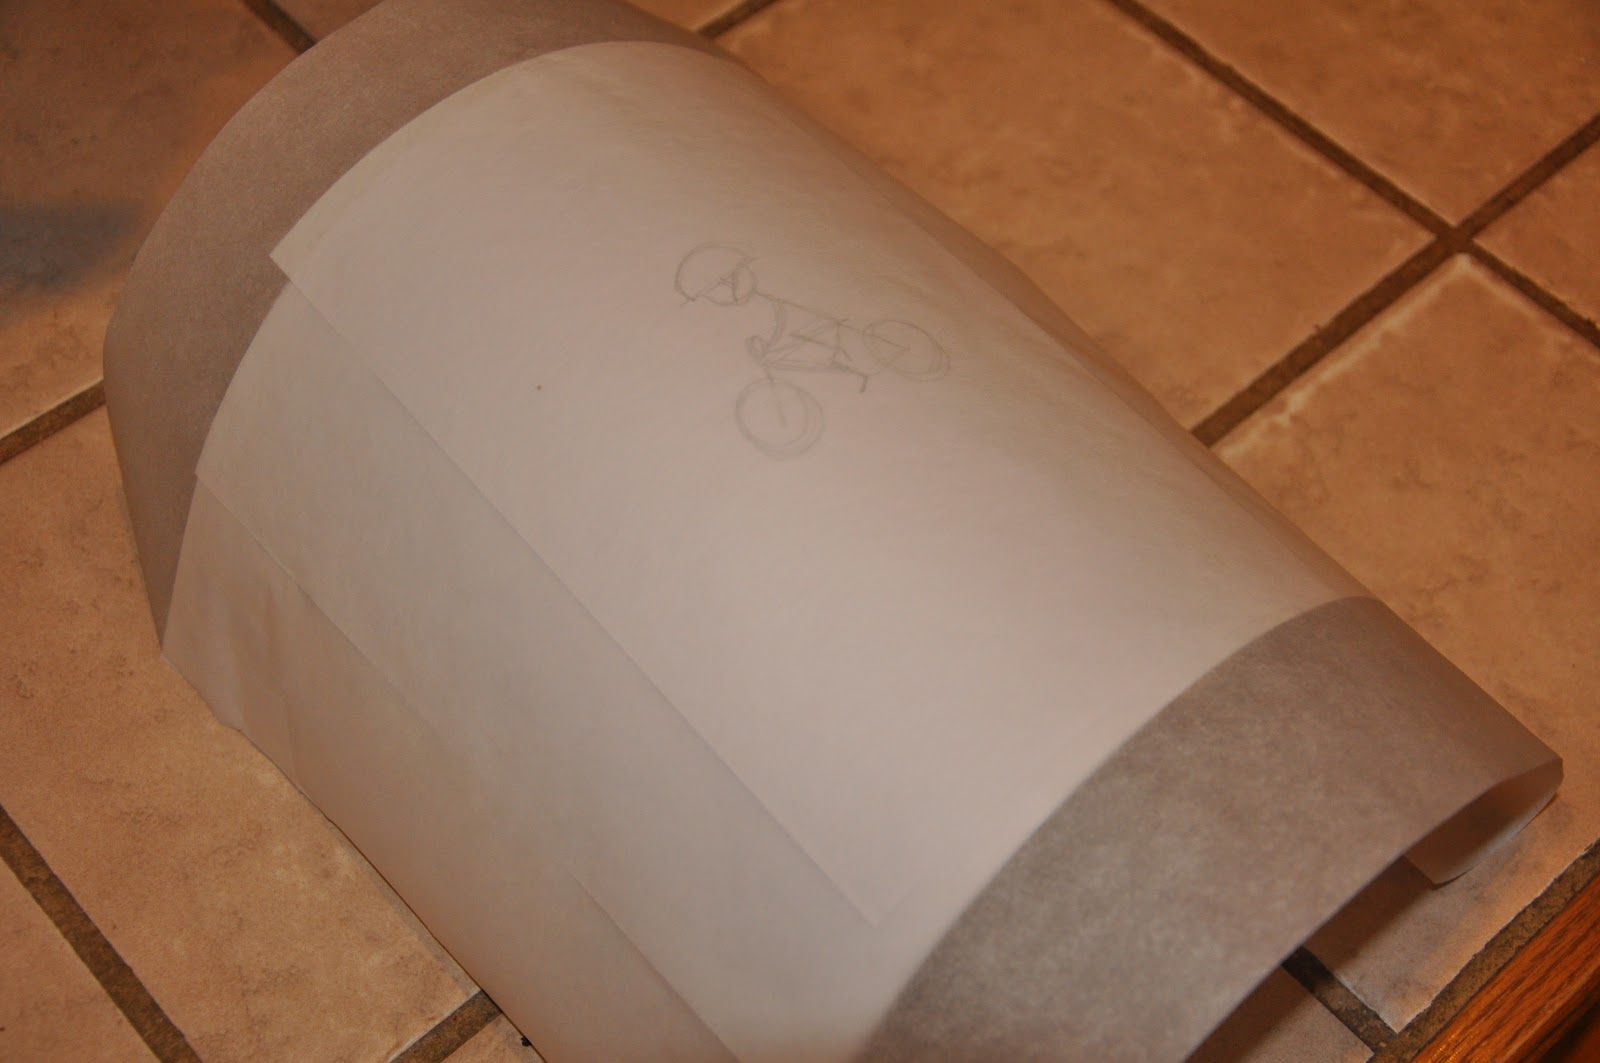
I made some trees, some mountains, a little mountain biker, and a Happy Birthday for Ryan. I free-formed everything but the biker (that I traced - I just drew it on paper and taped it underneath the parchment) - if you would rather plan these beforehand and trace the designs, that would work well too.


Enjoy!
knowing the process behind these makes them even more special! ryan and i appreciate all the effort (and even the mild profanities) that went into these. they were so beautiful and even more delicious.
ReplyDeletethanks again love!