Showing posts with label cream cheese. Show all posts

Thursday, August 15, 2013

Lemon Cupcakes and a 60th Wedding Anniversary


60 years is 21,900 days, which is 525,600 hours, which is 31,536,000 minutes, which is 1,892,160,000 seconds. Roughly. And that is how many seconds my grandparents have been married. They have been in love for even longer than that.

On August 15th, 1953, two people committed their lives to one another, and now, 60 years, 6 children, 29 grandchildren, and 1 great-grandchild later, they are still madly in love, and a great inspiration to us all.


A small portion of this family (the ones that could get time off work and who don't live scattered across the planet) gathered a couple weeks ago to surprise my wonderful grandparents in a celebration of their love. Their children took them to dinner, and while they were there, a small group of my cousins and I set out desserts and a couple decorations for when they returned. It was the last in a string of surprises that week, including spontaneous visitors and world travelers. Good times were had by all.


Enjoying cake at their wedding...

...and cupcakes at their 60th.

I made these lemon cupcakes as a sweet summer treat, in a cheerful, festive hue, bedecked with (all together with me now) cream cheese frosting. And plus, have you seen these Paper Eskimo cups yet? Holy cuteness! Like 12 on a scale of 1-10, if cupcake papers had a cuteness scale.


See? Holy moly.

These lemon cupcakes are easy to make, delicious and tangy and moist, and can be made as a cake if you don't want to do the cupcake thing.

************************************************************


Lemon Cupcakes
From Martha Stewart
Makes about a dozen normal cupcakes, or an 8 inch layer cake

Ingredients

2 sticks (1 cup) unsalted butter, at room temperature
2 1/2 cups all-purpose flour
1/2 teaspoon baking powder
1/2 teaspoon baking soda
1 teaspoon salt
1 tablespoon lemon zest
1 1/2 cups sugar
2 large eggs and 3 large egg yolks
2 tablespoons fresh lemon juice
1 cup buttermilk

For the frosting:

1 lb cream cheese, at room temperature
2 sticks (1 cup) butter, at room temperature
1 teaspoon vanilla extract
4-6 cups sifted confectioner's sugar

Instructions

Preheat oven to 350ºF.
Line baking tins with cupcake papers (or butter and flour two 8" pans).
In a medium bowl, whisk together flour, baking powder, baking soda, salt, and lemon zest. This smells absolutely heavenly. I believe lemon zest is made primarily of angel wings. Or fairy dust. Zesting lemons will make the whole kitchen smell absolutely fantastic.
In the bowl of your mixer fitted with a paddle attachment (or in a regular bowl, if you feel like kicking it old school), beat butter and sugar until light, fluffy, and gorgeous.
Turn the mixer on low and then add eggs and egg yolks one at a time.
Beat in the lemon juice.
Alternately add the flour mixture and buttermilk in batches, starting and ending with the flour. Don't overmix here, just combine until the flour is incorporated.
Portion the batter into baking cups (about 2/3 full)


and bake 20 minutes (or until a toothpick inserted into the center of a cupcake comes out mostly clean.
Let cool 10 minutes in pan, then remove and let cool completely on a rack before frosting.
You will notice that these stand on their own and don't need a muffin tin. Awesome.

**Note: In Martha's original recipe, she made a lemon simple syrup; while the cakes were still warm, she pokes holes in the cake and brushes on the syrup. I omit this step for cupcakes, and they turn out wonderfully moist and scrumptious. I have made this in cake form (for this adorable puppy cake), and I did the syrup. It turned out great. Your call.

Frosting:

Beat cream cheese, butter, and vanilla until smooth and creamy.
Add sugar in 1/2 cup to 1 cup increments, beating well in between additions. After the last addition, beat 3-5 minutes until smooth, light, and fluffy.
Pipe or smooth onto cupcakes (I used a 1M tip).


Lemon curl garnish
These cupcakes are so lovely garnished with a simple lemon peel twist.
These are super simple to make. All you need is a zesting tool. I use this one. Any zesting tool with a channel knife (the part in the middle, not the little holes at the top) will do the trick.
Make sure the fruit is clean, since you will be putting the garnish directly on top of the frosting. You can totally eat these too, although they are too bitter for some people (this also depends on how much pith (the white part under the skin) comes off with the peel).
Hold the fruit firmly, and, applying even pressure with the channel knife, peel the top layer of skin in a spiral around the fruit. Try to get mostly the yellow part and not the pith.

Like so.

Take the length of peel that you cut and twist it around something round (I used a wooden spoon handle). The tightness of your curl will depend on the size of the round thing. For tight spirals, use a skewer. For larger spirals, you could even use your finger.


Let it sit for a couple minutes to hold the shape, then gently slide the curl off the spoon.


Cut into little twists, and bedeck each cupcake with the sunny yellow goodness.


Enjoy lemon cupcakes, and enjoy love.
Congratulations to my amazing grandparents!
Here's to many more years of joy-filled memories!


...
Oh, and a few plastic party cups and a car seat were all that was needed to transport some of the leftovers safely to my cousins who couldn't make it.


Tuesday, February 14, 2012

Red Velvet Redo - Mini Valentine's Cupcakes


Happy Valentine's Day!

I have more than 60 valentines this year, and I have never felt luckier. Which means that I got to make Valentine's Day treats for not one sweetheart, but in fact three classrooms full of sweethearts. And what do first graders like better than a hefty dose of sugar (especially in the middle of a school day, and in lieu of math)? Done deal as far as they are concerned.
After the red velvet fiasco of last week, I am happy to say that I was feeling brave enough to try again. I tried another recipe, which I will post here, and made red velvet mini cupcakes with cream cheese frosting.

The kiddos were sufficiently thrilled to receive these little gems, and there are few things nicer than hearing "you are the best at making stuff ever," or "this is the most yummiest thing I ever ate in my whole life!"

So here they are. This red velvet recipe was considerably more successful for me than the one from last week. I used the same cream cheese frosting recipe that I always use, which can be found here.

Red Velvet Cupcakes
Source: AllRecipes

Ingredients
1/2 cup butter
1 1/2 cups sugar
2 eggs
1 cup buttermilk
1 fluid ounce red food coloring
1 teaspoon vanilla extract
1 1/2 teaspoons baking soda
1 tablespoon distilled white vinegar (I used apple cider vinegar here, and they turned out great)
2 cups all-purpose flour
1/3 cup unsweetened cocoa powder
1 teaspoon salt

Directions
Preheat oven to 350°F.
Line muffin tin with paper baking cups (I made mini cupcakes - this recipe yielded about 96 - yes, 96! - mini cupcakes).
Beat butter and sugar in large mixing bowl until light and fluffy.


Beat in eggs, buttermilk, red food coloring, and vanilla.


Mix in baking soda and vinegar.
Combine the flour, cocoa powder, and salt in another bowl.
Stir the flour mixture into the wet ingredients until just combined.

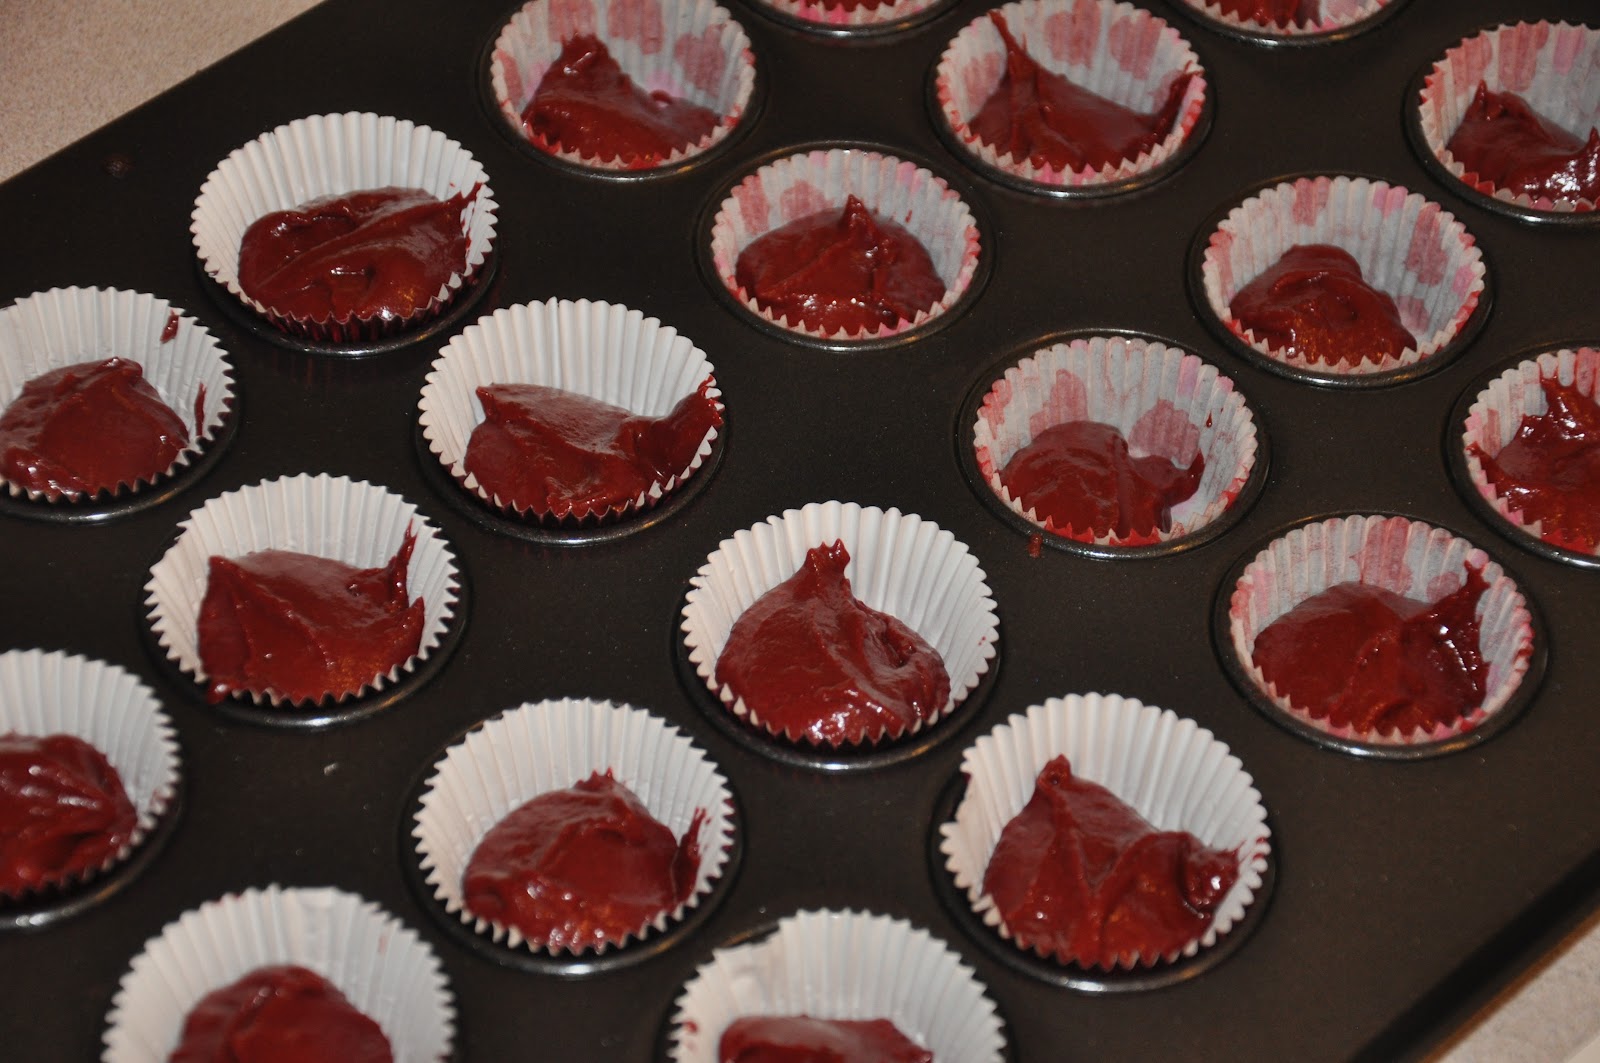
Spoon batter into the baking cups. You want to fill them about 1/2 to 2/3 full.

For mini cupcakes, bake 12 minutes or until top springs back when lightly touched (for regular cupcakes, this will be more like 20-25 minutes).
Cool on a wire rack.

Frost with cream cheese frosting (or frosting of your own choosing).

I piped on the frosting using... a jumbo french tip

and a Wilton 2D tip.

I decorated using jumbo heart sprinkles and these adorable teeny tiny little pink, red, and white heart sprinkles.


Enjoy! Feel the love!

Thursday, February 9, 2012

Ryan's Birthday and How Not to Bake a Red Velvet Cake


Last week we had a snow day. As usual, this meant about an inch or two of snow in my neighborhood (beautiful though that is), but closer to a foot or more in the northern tundra that composes the top half of our school district. I think for once, I can honestly say that I was more excited to have this snow day than your average six-year-old. Why, you might ask? Well, I had a cake to bake, of course!

My friend Chelsea asked me a couple weeks ago if I would bake the cake for her husband's birthday party...I was flattered and delighted, and agreed immediately. I had intended to bake the cake on Friday afternoon/evening after work, and finish it up on Saturday, the morning of the party. But thank the Snow Gods for their kindly contribution on Friday, because as events unfolded, it became clear that that plan would have had me still standing tearing out my hair in the kitchen at 3am.

The plan seemed so simple (famous last words)...

Bake red velvet cake.
Stand back and admire prodigious baking skills.
Crumb coat, refrigerate, rest on couch while cake chills.
Bake adorable red velvet cupcakes to accompany and supplement cake servings.
Stand back and admire baking skills again.
Pipe out chocolate decorations.
Pipe pretty cream cheese swirls on the cupcakes, frost the cake, add chocolate decorations.
Stand back and bask in oohs, aahs, and other exclamations of friends and family.

Let me tell you what really happened.

Step one. Bake red velvet cake. Easy, right? Well, I tried a new recipe. The mixing went well, and the baking seemed like it was going well until about 20 minutes in. That is when I started getting a whiff of a slight burning smell. Burning, you say? Yes, burning. It happens. Anyway, I checked on the smell, and sure enough, the cakes had overflowed, despite the recipe calling for 9 inch pans, which is what I used. It should have fit, right? That's what I thought too. I stuck some pans underneath to catch the overflow and let the cakes finish baking. When I removed my cake from the oven, it was clear that step two was clearly not going to happen.
Stand back and admire prodigious baking skills. Instead this was more like, stand back and try not to panic. Yes, it's already 3pm, and you know you're going to have to start over, right? (Picture me talking to myself, because this is where it starts). This is where step two morphs into push those aside, start another batch, and decide what to do with those ones later.
I assumed that the mistake was that I needed to put less batter in the pans. I thought they had simply overflowed, and that is what made them sink. So I mixed up more batter, siphoned a little off to bake separately, and put the rest into the pans. I stuck them in to bake and held my breath. I didn't open the oven, despite temptation, but waited like a Good Little Baker to see what happened. The timer went off. I took a deep breath, braced myself (suspenseful, right?), closed my eyes, and opened the oven door. No smell of smoke. Excellent. I peeked through one eye. Darn. I really had thought that I would have my gorgeous, spongy, perfectly smooth, slightly rounded red velvet cakes waiting for me there. Not so, my friends, I'm sorry to say. These ones had sunk too. Not nearly as badly, but they were still disappointing.

Sigh.

So I put these ones out to cool, slid the other ones back over from their place of exile on the other counter, and stood and stared at all four layers for an irrational length of time.
Sad, huh? Poor little sunken cakes...
I think it was less about the actual recipe than my lack of altitude adjustments. I usually don't make any, despite living at almost 7000 feet (about 2100m for my international fans). It's not usually a problem, but I am going to go ahead and convince myself that's why this cake fought me. Twice.

Now let me tell you something. I do. not. waste. cake. Period. Unless it is grossly inedible, it will get eaten, even if it is straight from a container in the fridge with frosting being swiped on each individual morsel. Besides that fact, I also didn't have any more red food coloring, or buttermilk, or milk for that matter. I only had two eggs left, and I plain old didn't want to bake another cake. Not in that mood.
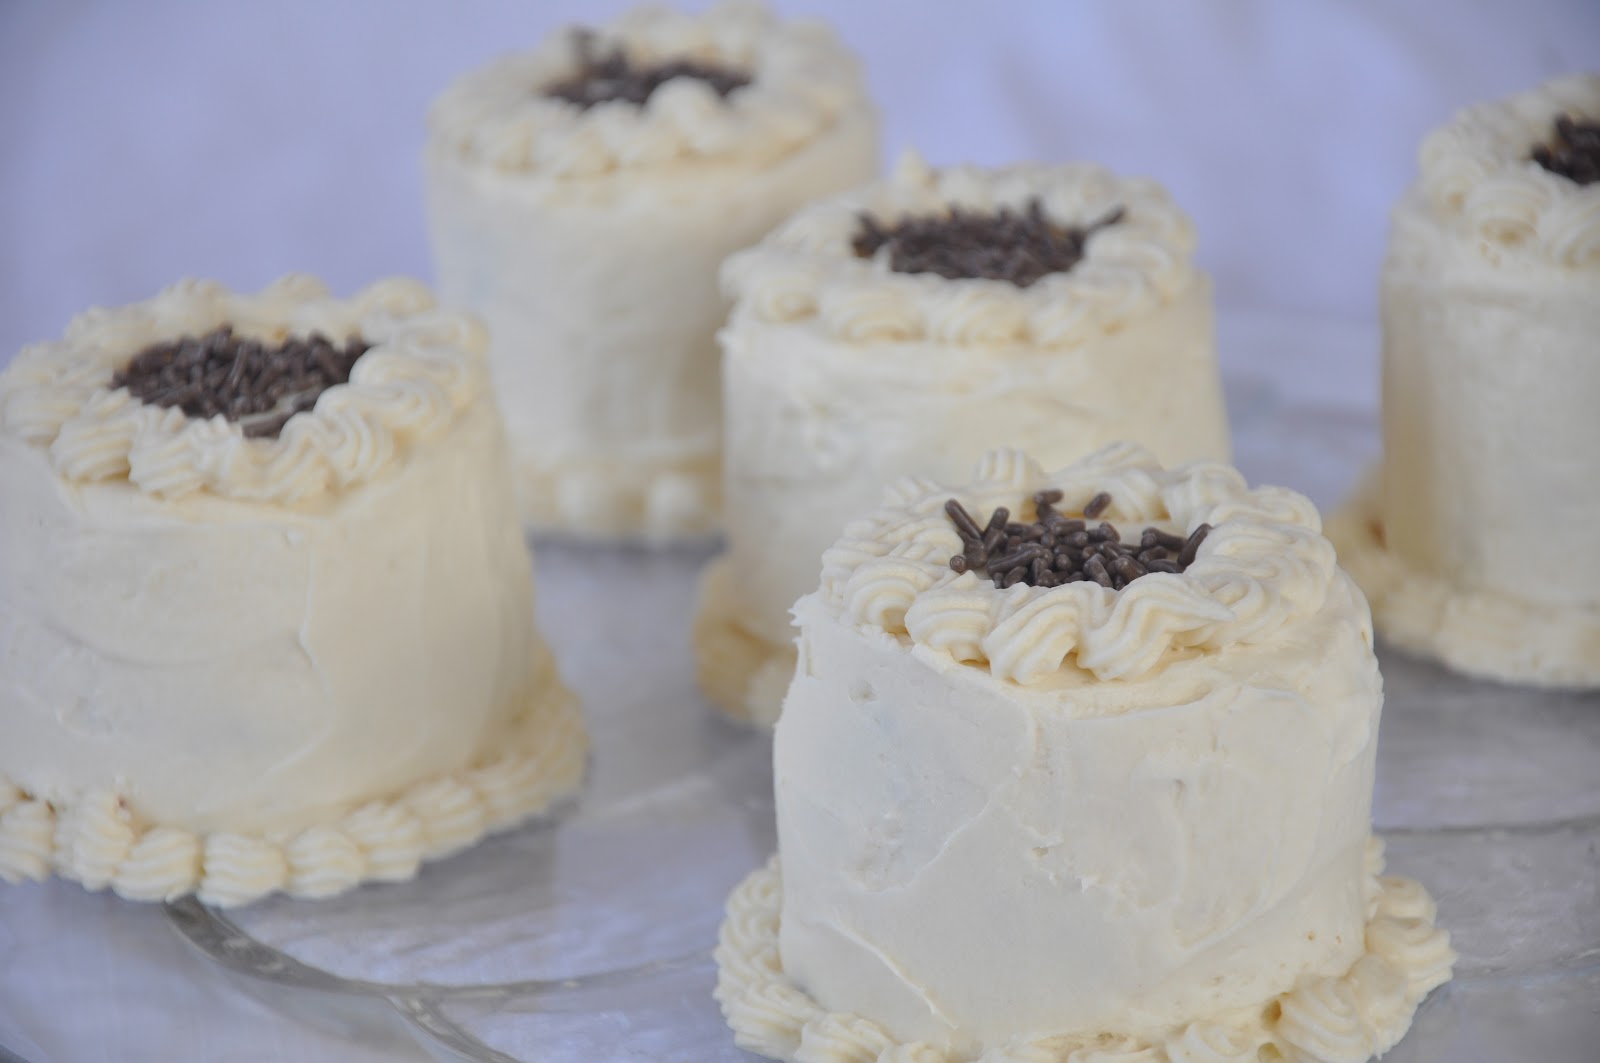
So what to do with the seriously crater-ific first attempt? Well, they were a little like brownies, and I picked off a piece to taste it. It may not be pretty, but it was yummy. So I ended up cutting out little rounds and making mini cakes. I'm sorry that I didn't take any pictures of this process, but I was too busy muttering mild profanities under my breath and trying not to eat all the cake scraps. I had recovered enough to take pictures of the final product though...

And the second attempt? I decided that they were usable, if I cheated on the frosting in between the layers. Who doesn't like extra cream cheese, anyway?

Despite the hurdles, the cake turned out delicious. A little chocolatey, and very dark red (since I used dark cocoa powder), and slathered with a dangerously generous layer of cream cheese frosting. What's not to like? And I think the piped decorations turned out wonderful, don't you? Ryan is a big mountain biker, so of course this outdoorsy-themed cake had to include a little riding Ryan, complete with helmet and all.

Cake disaster successfully turned around. Well done me, I think. My wonderfully supportive family and friends did indeed allow me to enjoy the last step of the original plan. Thanks guys. My love to you all, and Happy Birthday Ryan!

Despite my almost-failures, I am going to include the recipes for those less elevationally-challenged.

Red Velvet Cake
Source: Food Network
Ingredients
12 tablespoons (1 1/2 sticks) butter
3 cups cake flour, sifted
3 tablespoons unsweetened Dutch-process cocoa powder (I used dark, which makes the cake a darker color and gives it a slightly stronger chocolate taste)
1 teaspoon baking soda
1/2 teaspoon salt
1 3/4 cups granulated sugar
1/3 cup vegetable oil
3 large eggs, at room temperature
1 tablespoon red food coloring
2 teaspoons apple cider vinegar
1 teaspoon vanilla extract
1 cup buttermilk

Cream Cheese Frosting

Directions
Preheat the oven to 350°F
Butter two 9-inch pans (or spray with baking spray).
Whisk the flour, baking soda, and cocoa powder, and salt together in a bowl.


Beat the sugar, butter, and oil in your mixer (with a paddle attachment) on med-high speed until light and fluffy. This can take up to 4 minutes or so.


Beat in the eggs one at a time, incorporating in between.

Beat in the food coloring, vanilla, and vinegar.


Reduce mixer speed to low; add flour mixture in 3 batches, alternating with the buttermilk. Start and end with flour. Don't overmix here, you want to stir until the flour is just incorporated.

Divide the batter between the pans.


Bake 35-40 minutes, or until a toothpick comes out clean. Let cool on racks.

Make the frosting.

Crumb coat, refrigerate, then frost again. Of course, a crumb coat is optional, but especially with a dark-colored cake like this one, it makes for a neater finish. I also line underneath the edge of the cake with strips of parchment paper so that I can decorate straight onto the cake stand.


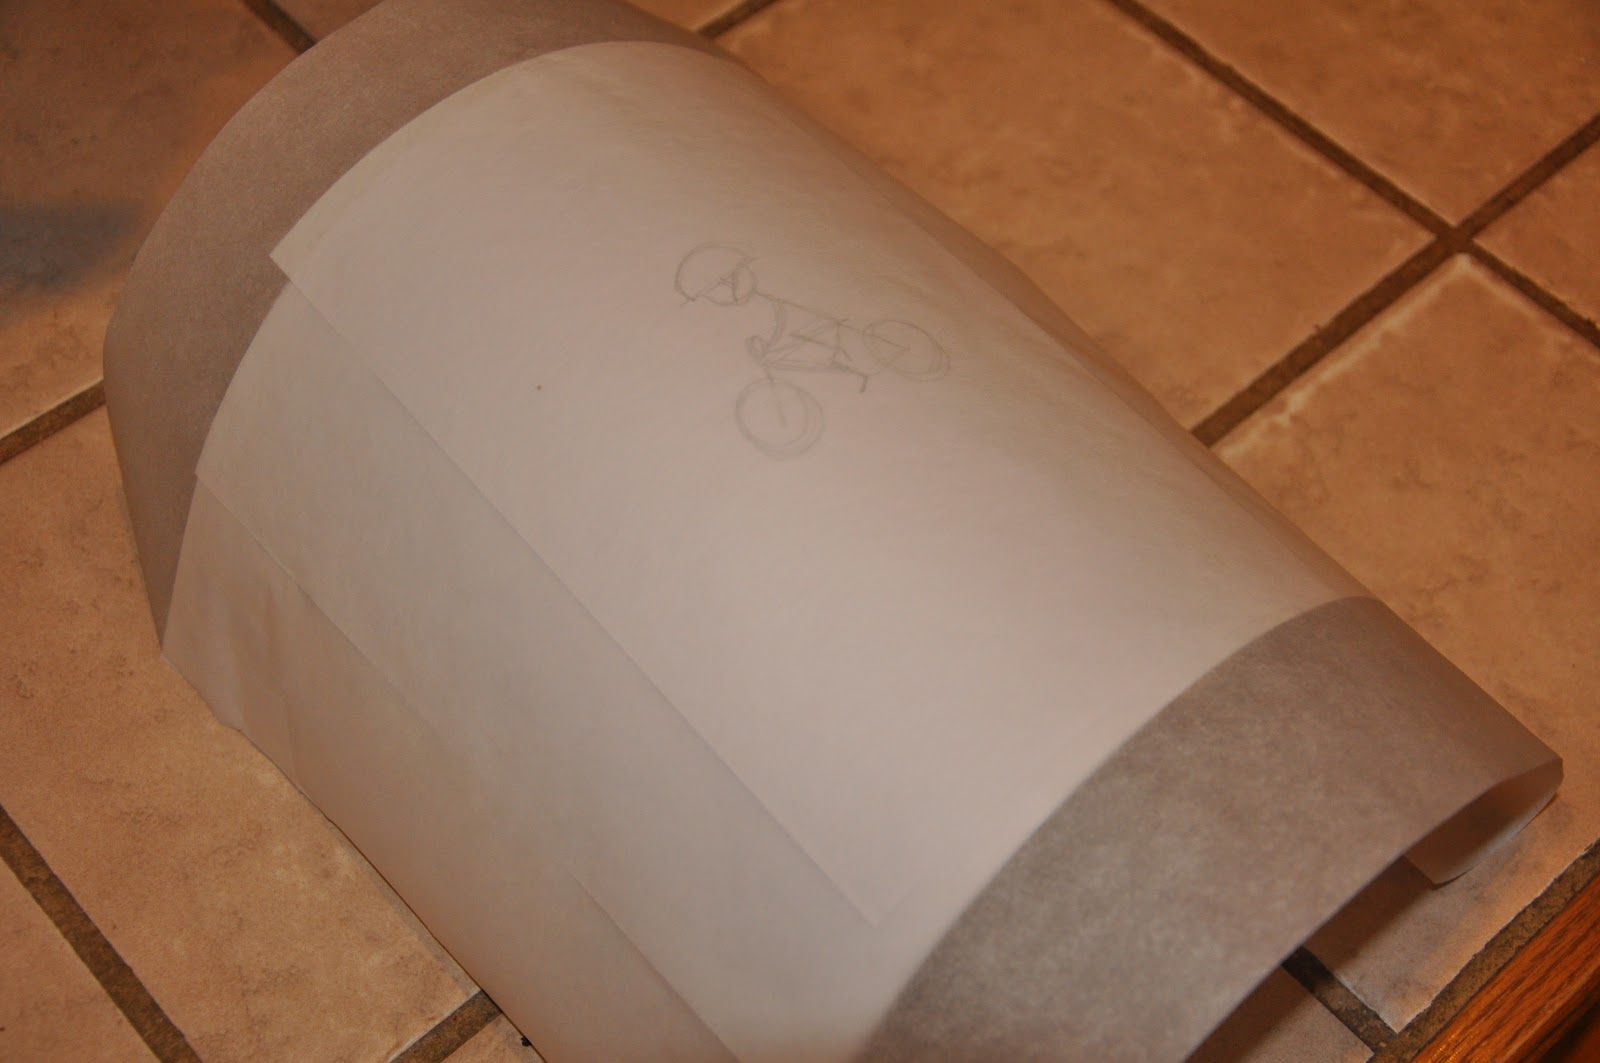
While the cake was chilling, I piped out the chocolate decorations. I wanted some of these to sit flush against the sides of the cake, so, using the pans as a guide, I made a little curved cardboard...thing to pipe them onto. I covered this with parchment paper, and voilà! I had the perfect little curved-chocolate-decoration-maker-thing.

I made some trees, some mountains, a little mountain biker, and a Happy Birthday for Ryan. I free-formed everything but the biker (that I traced - I just drew it on paper and taped it underneath the parchment) - if you would rather plan these beforehand and trace the designs, that would work well too.


Enjoy!